
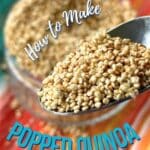
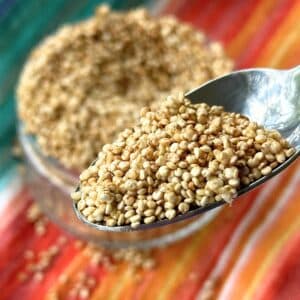
Popped quinoa is a quick and easy way to boost a dish with extra nutrients and crunch! Learn how to make toasted quinoa for sweet and savory recipes.

Popping quinoa has been on my bucket list for years! I’ve had it in premade salads and thought it was delicious, but I never took on making it myself… until now!
And now I can't stop popping!
It's delicious in chocolate quinoa crunch bars. And it's a great way to add protein to homemade quinoa granola or granola bars for a quick breakfast.
While many refer to quinoa as an ancient grain, it is a seed... a magical seed! And let me tell you why it is so special! Popped quinoa is:
- healthy and packs a punch as a complete protein that contains all nine essential amino acids.
- vegan, gluten-free, nut-free, and oil-free.
- super quick and easy to make in under 10 minutes.
- a perfect way to add a nut-free crunch to any dish.
What is Popped Quinoa?
The term “popped quinoa” comes from the popping or crackling sound that quinoa makes when heated up and toasted.
If you hope to make "puffed" quinoa with a fluffy texture at home… this is not what you will get. Popped quinoa is often confused with puffed quinoa that you buy in stores or online.
Puffed quinoa is more like puffed rice. It is light and airy, which is achieved through a mechanical process (which cannot be replicated at home).
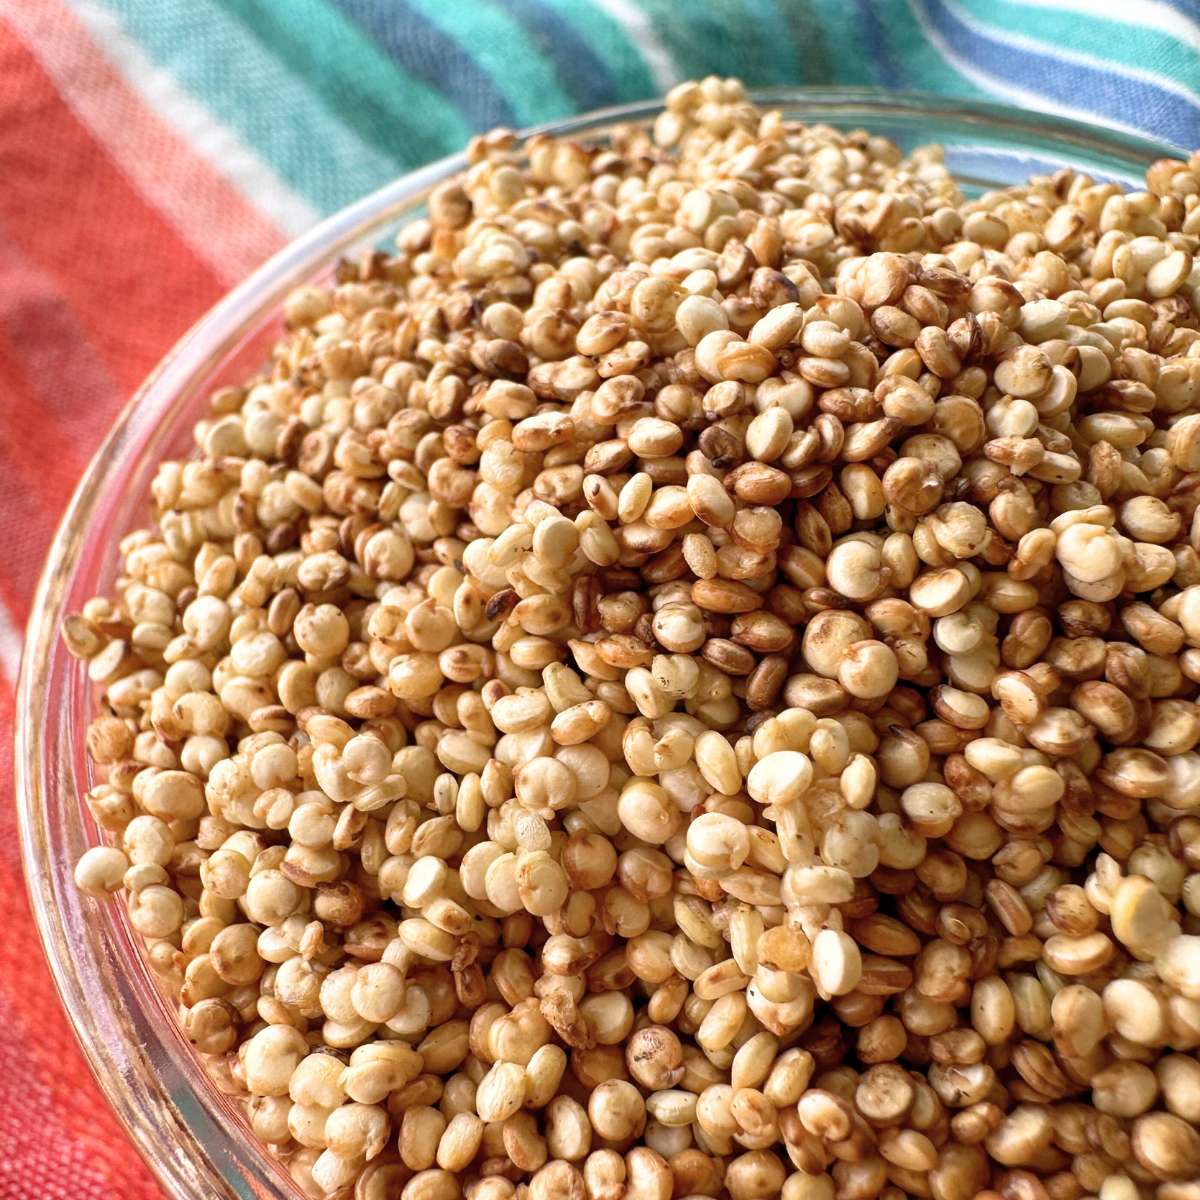
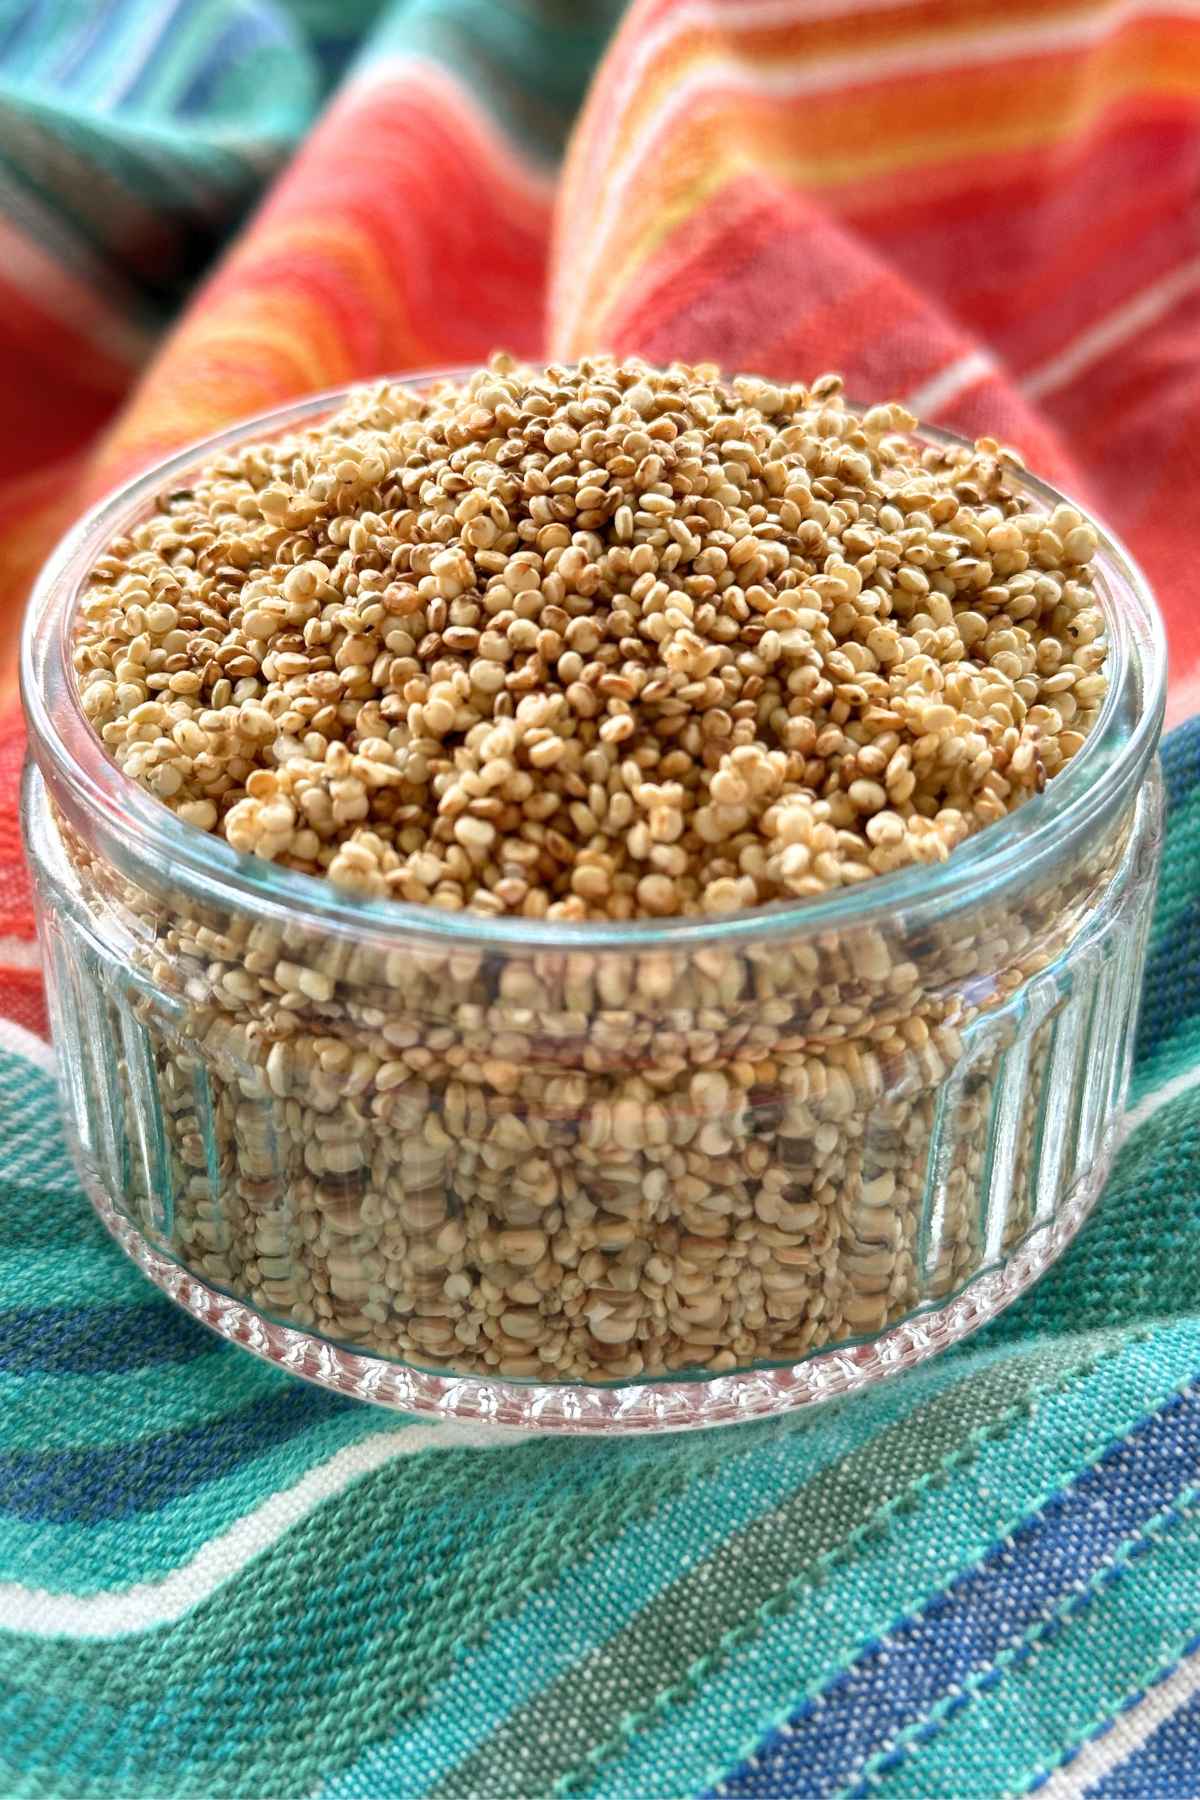
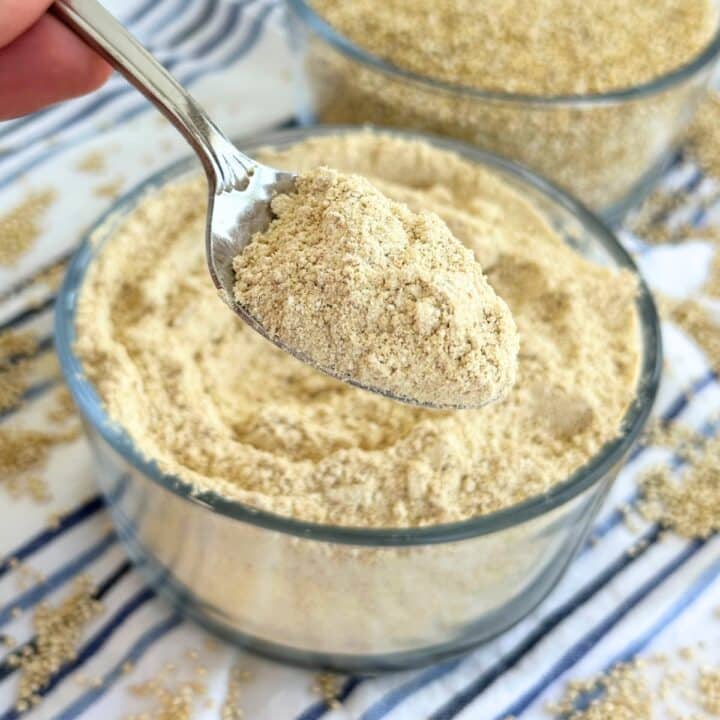
This recipe creates a beautiful golden brown popped quinoa with a crunchy texture and a slightly nutty flavor. Some seeds may puff out a bit, but not as much as you think.
Ingredients
If you haven't guessed already, there is one main ingredient in this popped quinoa recipe:
- Quinoa - You will need raw quinoa seeds. Don’t boil the quinoa first!
- You can pop any type of quinoa (white, red, black, or tri-colored), but I recommend starting with white until you understand the toasting process and timing. It's easier to tell when the color has changed to toasted and not burnt.
- Clean it first if the packaging does not say it is pre-rinsed. Rinsed quinoa ensures there will be no bitter taste from the saponins.
- Water - A little bit helps keep the quinoa moist and gives you more control during the toasting process.
The recipe card below includes the full list of ingredients + instructions.
Equipment
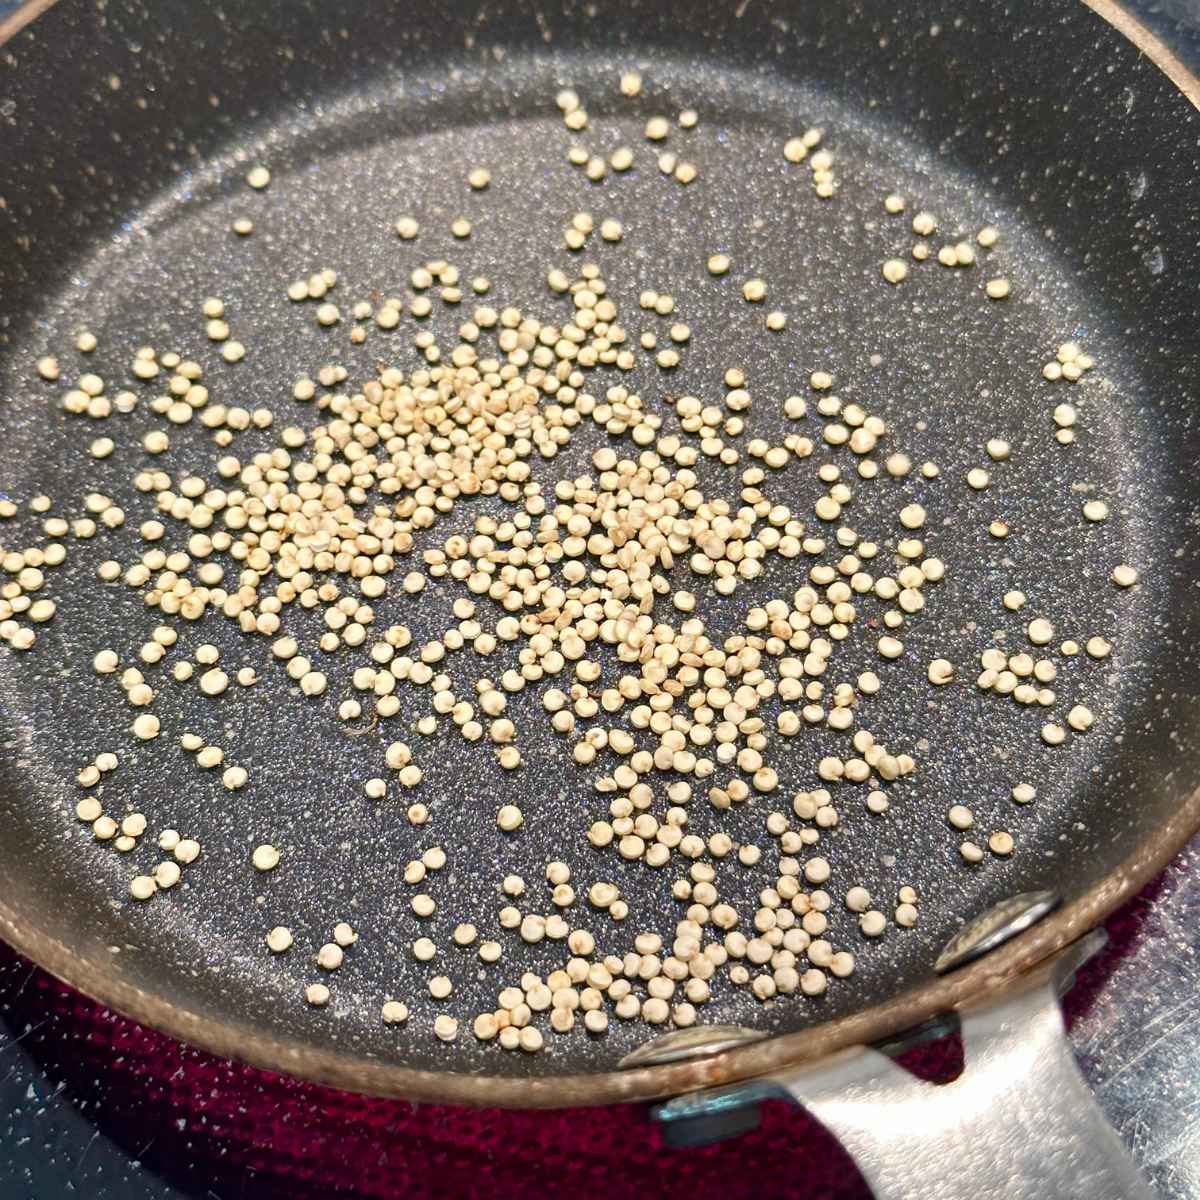
You need a skillet or pan that can be heated to a high temperature! I recommend using a tiny pan, 5.5” in diameter, and working in small batches.
A small pan allows you to control the toasting process and ensures that you can pay attention to all the quinoa so that none of it burns.
I tested it in larger pans and found the heating process more difficult to manage. Someone with more experience could control it, but that is not me!
I also tried toasting quinoa in a cast iron skillet, which was unsuccessful. While the heavy bottom helped keep the quinoa from burning, the fact that the skillet needs to be oiled does not work for this recipe… since oil is not recommended when toasting quinoa.
Soaking Quinoa
I learned about soaking or moistening quinoa from Ancient Harvest's how-to properly toast quinoa, and it has been a game changer in making perfectly popped quinoa!
Here's what I experienced by testing this recipe 3 different ways: with dry quinoa, moistened quinoa, and quinoa soaked overnight.
- Dry Quinoa - Toasts for too long before the quinoa pops. More quinoa goes to waste by becoming burnt—a tedious process.
- Moistened Quinoa - Using a 4:1 ratio of quinoa to water helps prevent quinoa from burning during toasting. The quinoa has time to dry out before popping. Best for eating popped quinoa alone or in salads.
- Overnight-Soaked Quinoa - Soaking quinoa overnight makes quinoa more tender and takes away some crunch. Completely submerge your quinoa in water and store it in an airtight container. Don’t soak the quinoa for too long, no more than 10-12 hours. This method worked better for chocolate bars or energy-bite recipes with quinoa. However, I still prefer the extra crunch of moistened quinoa.
Moistening or soaking your quinoa overnight both work and will achieve a gorgeous golden brown toasted quinoa. The method you choose depends on how much you are willing to prepare beforehand.
Directions
Here's a step-by-step guide to popping quinoa in small batches:

- Moisten quinoa with a 4:1 ratio of quinoa to water (or soak quinoa overnight, completely submerging it in water.)
- Place about 1 tablespoon of moistened quinoa into a small pan heated to medium-high temperature and flatten it into a single layer.
- Note: In order to determine when the pan is ready, test about 10 quinoa seeds to see if the pan is hot enough. The seeds should crackle or pop within 15 seconds of going on the stove.
- Water will start to evaporate and dry out the seeds. Break the quinoa up with a whisk.
- Once quinoa starts to make a crackling or popping sound, shake the pan around. It will be time to take the quinoa off the stove within a few seconds.
- Your quinoa will smell toasted and nutty. It will also visibly change to a golden brown.
- The whole process goes by within 15-30 seconds. Blink, and you might miss it! It's only a matter of seconds until the quinoa turns from toasted to burnt!
Repeat this process until all quinoa is popped. Let cool for a few minutes before eating (it will be very hot right off the stove).
Ways to Use Popped Quinoa
These are some of my favorite ways to eat popped quinoa:
- On top of salads for added crunch. It would be fantastic sprinkled on kale salad with balsamic vinaigrette.
- To make chocolate quinoa crunch bars. You could also add a layer of almond butter to make chocolate quinoa nut bars!
- Add it to your favorite energy bar recipe for added crunch and protein.
- Baked into quinoa granola or maple vanilla granola for an extra seedy crunch and kick of protein.
- Alone as a snack, or add some spices like chili powder to it.
- Boil the quinoa afterward and make toasty lemon quinoa. The toasting adds a delicious nutty flavor that works great as a Buddha bowl or taco base.
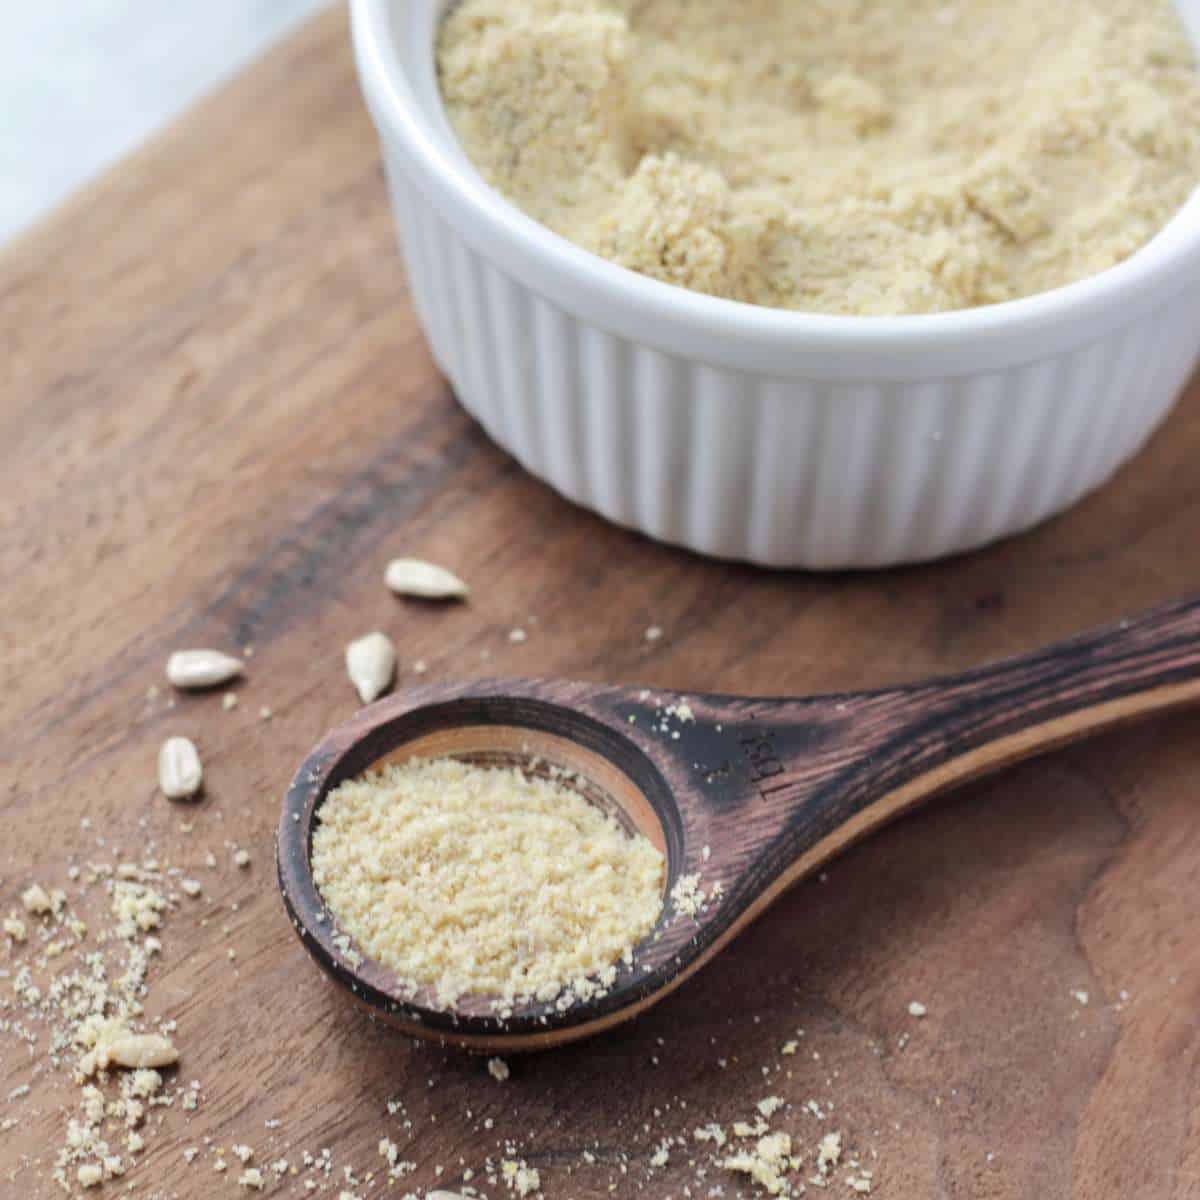
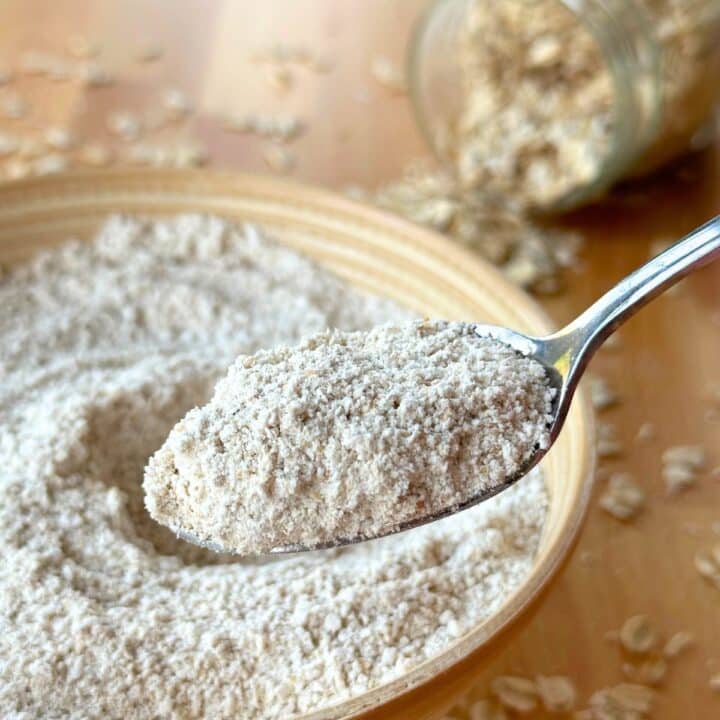
- Grind into quinoa flour to be used as a gluten-free flour alternative.

Storage
Store popped quinoa in an air-tight container in a cool, dry place. I've kept mine on the kitchen counter for about a week, and it maintains its crunch.
Recipe FAQ
Not exactly. Store-bought puffed quinoa has more of an airy texture, like rice krispies. Quinoa is mechanically puffed, which cannot be replicated at home.
The skillet may not be hot enough, or the quinoa wasn’t laying flat in one layer in the pan. However, remember that your quinoa isn’t going to puff as you would see in quinoa puffs at the store. It will make a crackling or popping noise and become toasty, but it isn’t going to puff like popcorn would.
Some quinoa is pre-rinsed and listed on the packaging. In that case, no, you wouldn’t need to clean it.
Otherwise, rinse and clean the quinoa before using it to ensure its saponins are rinsed away. The quinoa seed is encased in saponin, a soapy coating with a bitter taste that acts as a natural pesticide for birds and pests. Some people are more sensitive than others to saponins, especially those with digestive issues.
Rinse quinoa in a fine-mesh strainer, cheesecloth, or nut milk bag. The saponins will foam up, which is how you know they are being washed away. Drain off excess water, but don’t let the quinoa completely dry out.
Not at all! Popped quinoa works better when it has no oil in the pan. The oil would slow the popping and make it less crispy if added afterward.
More How-To Recipes
Want more tasty vegan recipes sent to your inbox?
How to Make Popped Quinoa
Equipment
- 5.5" diameter pan or other small sized pan/skillet
Ingredients
- ½ cup raw quinoa see notes below
- 2 tablespoon water see notes below
Instructions
- Moisten quinoa with a 4:1 ratio of quinoa to water (or soak quinoa overnight, completely submerging it in water.)
- To determine when the pan is ready, test about 10 quinoa seeds to see if the pan is hot enough. The seeds should crackle or pop within 15 seconds of going on the stove.
- Place about 1 tablespoon of moistened quinoa into a small pan heated to medium-high temperature and flatten it into a single layer.
- Water will start to evaporate and dry out the seeds. Break the quinoa up with a whisk.
- Once quinoa starts to make a crackling or popping sound, shake the pan around. It will be time to take the quinoa off the stove within a few seconds. Your quinoa will smell toasted and nutty. It will also visibly change to a golden brown. The whole process goes by within 15-30 seconds. Blink, and you might miss it! It's only a matter of seconds until the quinoa turns from toasted to burnt!
- Repeat this process until all quinoa is popped. Let cool for a few minutes before eating (it will be very hot right off the stove).
Notes
- Yield: ½ cup popped quinoa, serving size is 1 tablespoon.
- You can pop any type of quinoa (white, red, black, or tri-colored). Start with white until you understand the toasting process and timing. It's easier to tell when the color has changed to toasted and not burnt.
- Clean the quinoa first if the packaging does not say it is pre-rinsed. Rinsed quinoa ensures there will be no bitter taste from the saponins.
-
There are 2 options for moistening the quinoa:
- Moistened Quinoa - Using a 4:1 ratio of quinoa to water helps prevent quinoa from burning during toasting. The quinoa has time to dry out before popping.
- Overnight-Soaked Quinoa - Soaking quinoa overnight makes quinoa more tender and takes away some crunch. Completely submerge your quinoa in water and store it in an airtight container. Don’t soak the quinoa for too long, no more than 10-12 hours. Drain the quinoa before popping.
- Storage: Store in an airtight container on your counter for up to 7 days.
Email me the recipe!
Plus more tasty vegan recipes every week. Unsubscribe at any time.
* The provided nutritional information is an estimate per serving. Accuracy will vary on specific ingredients and brands used.


Sarah says
How much quinoa do you need to make 1 cup puffed quinoa?
Sarah Pilley says
Hi Sarah! The conversion is 1:1, so you would need 1 cup!
Julia says
Do I need to air dry my rinsed quinoa before toasting and then add the water for toasting?
Sarah Pilley says
Hi Julia! You do not need to air dry the tofu, but you can add a bit less water since the quinoa is already somewhat moistened from rinsing.
Stephanie says
maybe I'm missing something. how long do you "moisten" the quinoa? I assume because there is a ratio of water to quinoa and that it is distinct from rinsing, that it involves soaking for a period of time? but i am not seeing for how long. I see to soak for 10-12 hours if you choose the soaking method. but how is the quinoa moistened?
Sarah Pilley says
Hi Stephanie! This "moistening" step doesn't really have an exact science. You can just rinse the quinoa like you would rice or you could add about 2 tablespoons of water per 1/4 cup. If you're adding the water, all you have to do is mix it, no need to wait for it to soak. The added water helps to keep the quinoa from burning too quickly. I usually find it easiest to just rinse the quinoa and then start popping it. (You can also skip this step, just keep a close eye to make sure the quinoa doesn't burn!)
Shirley says
For 1/2 cup of raw quinoa I will obtain only one table spoon? it doesn't make much sense as after stuffed I understand that gets a little bigger.
Sarah Pilley says
Hi Shirley! Essentially by popping quinoa you are toasting it, so the volume says the same as however much you start with. If you start with 1/2 cup, you'll get 1/2 cup popped quinoa. (If you wanted to boil it after it would triple in size.)
Elle says
My quinoa started popping like popcorn so flew around the kitchen a bit. Is this to be expected? I’m not sure all of the quinoa popped as a result because I took it off the stove to stop it escaping. It definitely smelt right and when I covered the pan for one batch it kinda smelt burnt. Want to make sure I’m not gonna get sick from accidentally eating it raw
Sarah Pilley says
Hi Elle! I think your pan might've heated up too much, the quinoa should stay in the pan and just get gently toasted.
Emily says
worked perfectly. i did rinse my quinoa since the package says to rinse. used my large cast iron to do it. never popped out of my pan got nice and golden and took it out of pan quickly. notes says cast iron doesnt work well do to oil use but i did not use oil and my cast iron is very non stick so very doable in cast iron